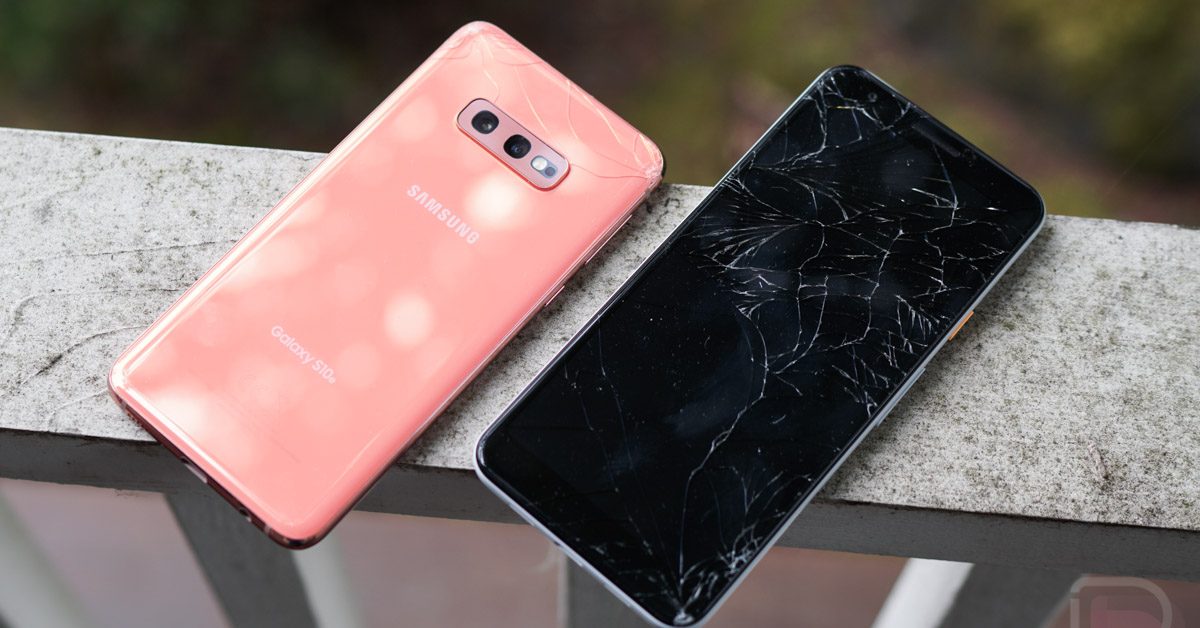
Cracked or unresponsive screens are among the most common issues on a Samsung Galaxy S10. Replacing the screen yourself can save time and money, provided you follow proper safety steps and use quality parts. This guide will walk you through every step, from gathering tools to completing the repair and testing your device.
Tools & Materials
- Replacement Screen & Adhesive Kit (OEM or high-quality third party)
- Heat Source: iOpener, heat gun, or hairdryer
- Suction Cup & Opening Picks
- Precision Screwdriver Set (Phillips #00 and Torx T3/T5 as needed)
- Plastic Spudger & Tweezers
- Anti-Static Wrist Strap
- Microfiber Cloth & Isopropyl Alcohol
Safety Precautions
- Power Down Completely
Hold the Power button, tap “Power off,” and wait for the device to shut down. - ESD Protection
Wear an anti-static wrist strap or periodically ground yourself to avoid electrostatic damage. - Clean Workspace
Work on a soft, clean surface—ideally a microfiber mat—to prevent scratches or lost parts.
Step-by-Step Screen Replacement
1. Soften the Adhesive
- Warm the edges of the back glass for 1–2 minutes using your heat source.
- Rotate the heat source continuously to avoid overheating any one spot.
2. Create an Opening Gap
- Place the suction cup near the lower half of the back panel.
- Gently pull up on the suction cup to lift the glass just enough to insert an opening pick.
3. Slice Through the Adhesive
- Slide the pick carefully along the seam, keeping it as flat as possible.
- Insert additional picks at corners to hold the gap open as you work around all sides.
4. Remove the Back Cover
- Once the adhesive is cut, lift the back panel away, starting at one corner.
- Work slowly to avoid snapping the glass.
5. Disconnect the Battery
- Remove any screws or brackets covering the battery connector.
- Use a plastic spudger to gently pry the battery cable straight up.
6. Detach the Old Display
- Unscrew the midframe screws and lift off the frame.
- Peel back any remaining adhesive around the screen edges.
- Carefully disconnect the display’s flex cables before lifting the old screen out.
7. Install the New Screen
- Clean the Frame: Remove old adhesive residue with isopropyl alcohol and a lint-free cloth.
- Apply New Adhesive: Align pre-cut adhesive strips around the frame edges.
- Position the Screen: Line up the display flex cables, press the screen into place, and ensure it sits flush.
8. Reassemble & Test
- Reinstall the midframe and secure all screws in their original locations.
- Reconnect the battery cable and replace any brackets or shields.
- Snap the back cover onto the adhesive, pressing firmly around the edges.
- Power on the phone and test touch responsiveness, display clarity, and functionality before considering the job complete.
Tips & Troubleshooting
- Stubborn Corners: Reheat only the problem area instead of the entire back panel.
- Cable Handling: Never pull on flex cables—use the spudger to lift connectors by their tab.
- Dust Prevention: Work in a low-dust environment and wipe the frame before sealing to avoid trapped particles.
When to Seek Professional Help
If you notice any torn cables, missing screws, or excessive glass shards during disassembly—or if the replacement screen shows dead pixels or touch issues—professional repair may be safer. Authorized service centers can guarantee genuine parts and a factory-grade repair.
Conclusion
With the right tools, careful preparation, and methodical steps, replacing your Galaxy S10 screen is achievable at home and can bring your device back to life while saving on repair costs. Take your time, follow each step closely, and enjoy your fully functional display once again!
- Facebook Quietly Expands Downvote Button Test for Comments - June 24, 2025
- Instagram GIFs Return, But Only the Boring Ones - June 24, 2025
- Waze: What It Is, How It Works, and Why Drivers Love It? - June 24, 2025
Discover more from Techy247
Subscribe to get the latest posts sent to your email.


