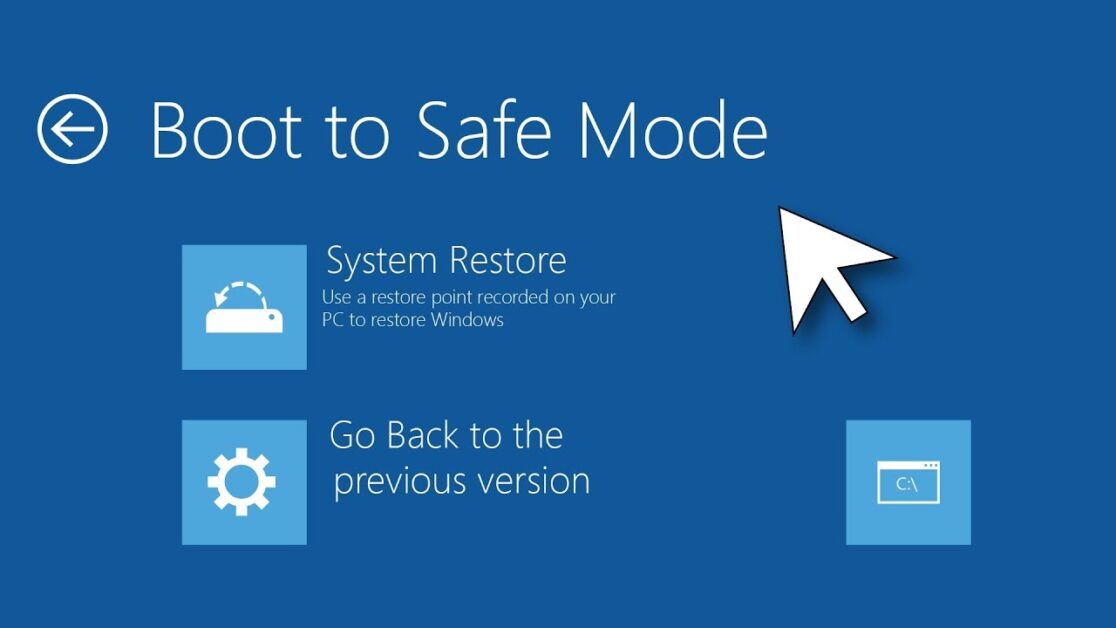
When your PC starts acting up — crashes, freezes, or displays strange errors — booting into Safe Mode is one of the most effective troubleshooting steps. Safe Mode allows Windows to start with only essential system programs and drivers, eliminating third-party software conflicts or corrupted settings. Whether you’re using Windows 11, 10, or older versions, this guide will walk you through the step-by-step process of accessing Safe Mode through various methods.
Why Safe Mode Is Important
Safe Mode is a special boot state that helps users:
- Fix software and driver issues
- Remove malware or viruses that won’t delete in normal mode
- Uninstall problematic apps or updates
- Perform system restores
With only essential services running, it’s easier to isolate and fix problems without interference.
Types of Safe Mode
Windows offers three Safe Mode variations:
- Safe Mode: Loads minimal drivers and services.
- Safe Mode with Networking: Adds network drivers and services.
- Safe Mode with Command Prompt: Loads the system with only a command-line interface.
Method 1: Use System Configuration (msconfig)
Step-by-Step:
- Press Windows + R to open the Run dialog.
- Type
msconfigand press Enter. - In the System Configuration window, go to the Boot tab.
- Under Boot options, check Safe boot. Choose from:
- Minimal – Standard Safe Mode
- Alternate shell – Safe Mode with Command Prompt
- Network – Safe Mode with Networking
- Click OK and then Restart.
Tip: Uncheck “Safe boot” in msconfig later to return to normal mode.
Method 2: Boot via Settings App (Windows 11/10)
Steps:
- Open Settings from the Start Menu.
- Go to System > Recovery.
- Under Recovery Options, click Restart now under Advanced startup.
- Click Troubleshoot > Advanced options > Startup Settings > Restart.
- After restart, press:
- 4 to enable Safe Mode
- 5 to enable Safe Mode with Networking
- 6 to enable Safe Mode with Command Prompt
Method 3: Shift + Restart (Quick Access)
This method works if you’re already on the login screen or desktop.
- Hold Shift and click Restart from the Start Menu or login screen.
- Choose Troubleshoot > Advanced options > Startup Settings > Restart.
- After reboot, select the appropriate Safe Mode option using number keys (4, 5, or 6).
Method 4: From a Black Screen Using Power Interrupt
If your PC won’t boot properly:
- Turn on the computer and force shut it down as soon as the Windows logo appears (press and hold power button).
- Repeat 2-3 times until Windows starts Automatic Repair.
- Click Advanced options > Troubleshoot > Startup Settings > Restart.
- Press the desired Safe Mode number key (4, 5, or 6).
Method 5: Using a Bootable USB or Installation Media
- Plug in the Windows installation USB or DVD and restart your computer.
- Boot from the media and click Next > Repair your computer.
- Go to Troubleshoot > Advanced options > Startup Settings.
- Click Restart and choose Safe Mode option using number keys.
Method 6: Use Command Prompt in Recovery Mode
- Access recovery options using any previous method.
- Select Command Prompt under Advanced options.
- Type the following command and press Enter:
bcdedit /set {default} safeboot minimal - Restart your PC. It will boot into Safe Mode.
To revert: Open Command Prompt and run:
bcdedit /deletevalue {default} safeboot
How to Exit Safe Mode
Once you’re done troubleshooting:
- Open Run (Windows + R), type
msconfig, and press Enter. - Uncheck Safe boot under the Boot tab.
- Click OK and restart.
When to Use Safe Mode
- After installing a bad driver or Windows update
- To remove viruses and malware
- To troubleshoot blue screen errors (BSODs)
- If your PC crashes or restarts frequently
Common Issues Solved by Safe Mode
- Uninstalling broken updates: Safe Mode allows clean uninstallation.
- Driver rollbacks: Problematic drivers can be rolled back safely.
- System restore: Launch a restore point without software interference.
Final Thoughts
Booting into Safe Mode is one of the most powerful and effective ways to fix critical issues on any Windows system. Whether you’re using it to uninstall troublesome drivers, remove malware, or roll back system changes, mastering Safe Mode ensures you’re never left helpless when your system acts up. Bookmark this guide for future reference and keep your troubleshooting skills sharp.

